Thanks for joining us today here at Fresh's Workshop. If you are a first-time visitor, WELCOME. If you have been here before, THANKS for coming back.
This is the spot where we build and repair all kinds of cool stuff, along with making a ton of saw dust. (Man Glitter.)
Last time in the Workshop, we worked on a Digital Clock for the Nightstand (Click on the link to see that episode)
Before we begin today's project, let's take a moment and talk about shop safety:

Be sure to read, understand and follow all of the safety rules that come with your power tools. Knowing how to use your power tools properly will greatly reduce the risk of personal injury. And remember this, there is no greater safety rule than to wear safety glasses.
Today, we are installing a large-screen TV on our bedroom wall. This will free up space on the dresser for the VCR/DVD player and network switch. Indeed, I still possess a VCR and take pleasure in watching DVDs.

All wires and cables will be neatly concealed within the wall for a clean presentation. This includes the power cable, HDMI cable for the Roku and VGA cables for the VCR/DVD player. An additional HDMI cable will also be installed for the Blu-ray player.
First, we need the wall mount:

And a couple of boxes to hide all of the wires:
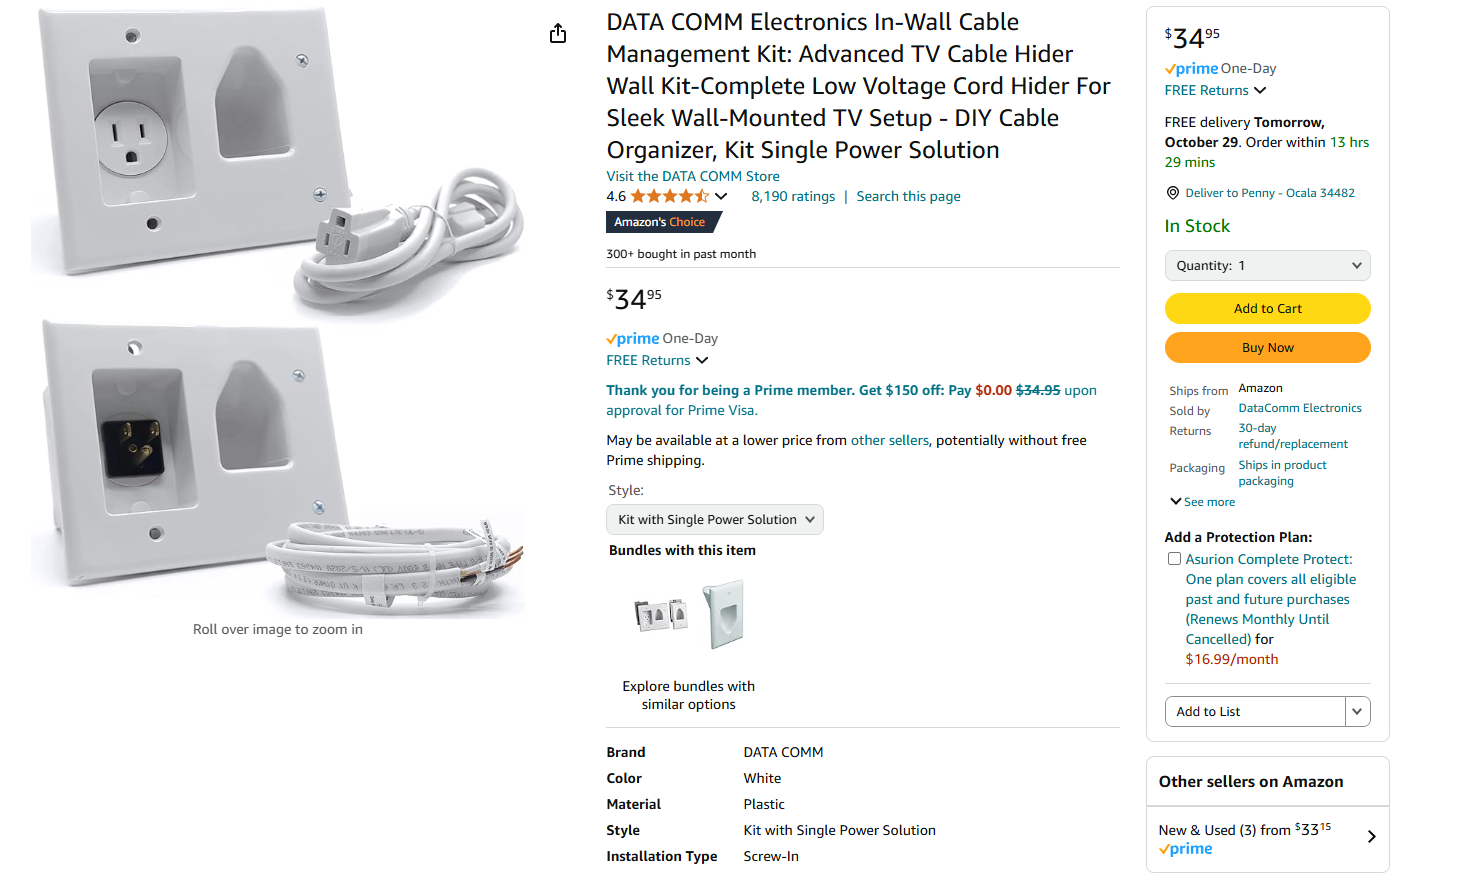
I have made these purchases; however, your requirements may differ. Amazon provides a wide range of options, or you may also consider exploring the selections at your local Home Center.
So, let's take a look at the wall.

Ensure that you install your mount into a stud Avoid using any specialized drywall mounts. Use studs exclusively.
If you have a concrete wall, refer to your instructions for the appropriate mounting procedure.
We recently replaced our aquarium with the CD bookcase, as I preferred not to have the aquarium near our workspace. Consequently, the fish tank was relocated to a different area of the room.
The initial step involves locating the wall studs. Assuming the house was constructed correctly, there should be a stud to the left of the switch box, within the CD shelves. Another stud is expected to be found 16 inches from the first.
From our project "BOOKCASE MOUNTING AROUND A WALL PLATE," we discovered that there was a stud just to the left of the switch and fan box. So, let's take some measurements and use our stud finder.


The most important step in the process is to R.T.F.M. (Read the frickin' manual) for your mount. Follow ALL of the safety tips they list.


By placing the wall mount on the back of the TV, I can determine where the top and side of the TV will be positioned on the wall. Ensure that there is sufficient space.


However, we still to conceal the wires.
The kit I demonstrated earlier will be installed adjacent to the mount.
It includes a cut-out template which I used to mark the location on the wall.


So, I finished the bottom just like I did the top.
The only task remaining is to hang the TV, which is definitely not a one-person job. It's crucial to have assistance; attempting it solo could be a recipe for disaster. So, find a friend to lend a hand, regardless of their alma mater—even if it's Auburn.

Sorry no picture of the hanging up of the TV, all you would have seen is two butt cracks.
So, let's hook up all the wires. And Bob's Your Uncle.
Now we can lie in bed and watch our favorite TV program at the proper height, with access to the VCR/DVD/ROKU player.


Coming up next in Fresh's Workshop, I think we'll be working on cabinets for the Digital Clocks, and we'll finish up the Audio Equalizer. Hopefully the weather will warm us up, so we can get back into the wood shop. But first, it will be shop 'clean up' time.
AROUND THE KITCHEN - SEE WHAT I COOK
BRIARWOOD - YOU CAN READ MY NOVELS
AUDIO CONSOLE - WHERE I AM BUILDING AN AUDIO MIXER
DISCLAIMER The information contained here is for ENTERTAINMENT purposes only. Working with woodworking tools can be dangerous. The user of these tools should have a basic knowledge of woodworking and be familiar with the proper use and safety precautions associated with these tools. Always wear appropriate personal protective equipment, such as safety glasses, ear protection, and a dust mask. Always use the tool in accordance with the manufacturer's instructions and guidelines. Always maintain a safe and organized work area.


No comments:
Post a Comment