Thank you for joining us today at Fresh's Workshop. If this is your first visit, welcome! If you're returning, we appreciate your continued support.
Our inspiration comes from Woodsmith magazine. You can subscribe to Woodsmith here: WOODSMITH
I have made several Woodsmith projects over the years, but my favorite is the TV cabinet I made for our Florida Room.
Yes, there is a TV in there!!
Check it out!
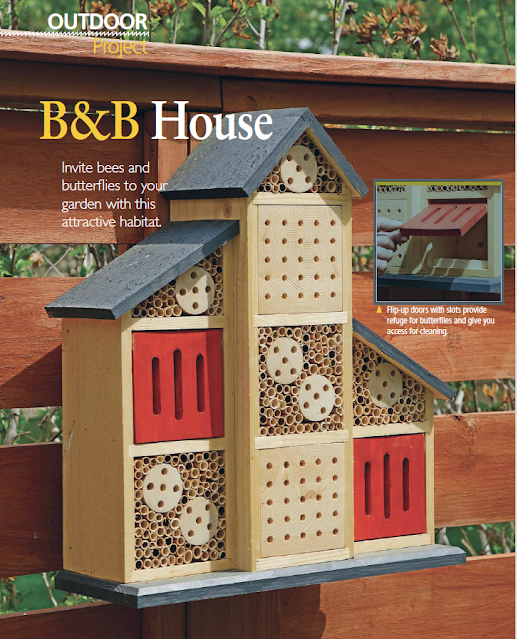
At the core of our Bee House are numerous cardboard tubes which the bees will fill with their larvae. You then harvest them. (That part is up to the Master Gardener in the family. I just build stuff)
Cardboard Mason Bee House Tubes
Avoid using plastic straws to save money; they are ineffective. Their small size and inability to absorb moisture are crucial in preventing mold on the cocoon. You can make the tubes out of paper, but that is extremely time consuming,
Our Bee House will be constructed from Cedar fence pickets acquired from the local Home Center. Cedar is resilient to weather conditions and is ideal for outdoor projects. I am also making a unit using cypress.
The majority of the Bee House is constructed from 3/4" pickets, which are planed down to 1/2 inch. The base will utilize a 3/4" picket. Begin with preparation.
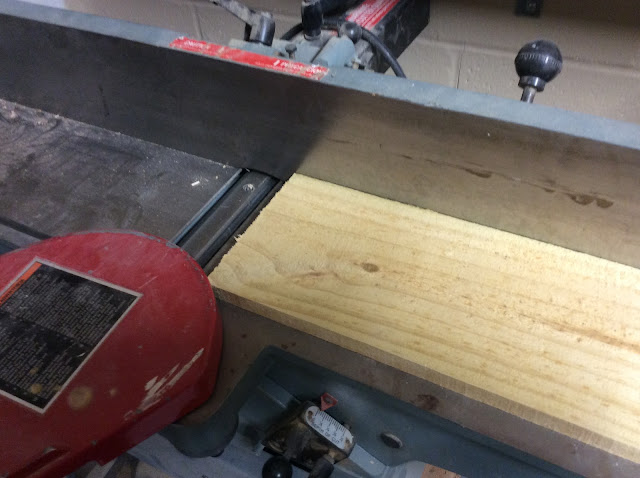
I will run this through my jointer, (bow up) until the bottom is nice and straight.
I have also discovered that boards from the Home Center require drying before use. Typically, I allow them to rest for a week or two the shop to dry.
Additionally, boards tend to warp after plaining. My recommendation is plane them down, cut them to size, and glue them all in the same day.
The majority of these boards are "rough cut," indicating they are not smooth. However, this does not affect the project.
In general, I either plane them or sand them to achieve the smoothest finish possible. It is only necessary sand the parts that will be visible as the bees are not concerned with it.
BUILDING TIP # 587: Ensure that you use an outdoor glue for this project. I used Titebond III.
We are building this bee house in three sections. The center, and two sides.
Let's start with the center section.
Here is what you will need: (I will give you the Woodsmith dimensions)
2 - SIDES - 1/2 x 5 1/2 x 16
1 - LEFT ROOF 1/2 X 4 1/2 X 6
1 - RIGHT ROOF 1/2 X 4 1/2 X 6
4 - FLOORS 1/2 X 5 X 5
1 - BACK 1/2 X 5 X 18 1/4
Additionally, boards measuring 1/2 x 4.5 x 5 inches will be required to serve as collection nests. The quantity needed will be determined by the of your sections. (I constructed them at 6 x 6 inches and will trim them to the final size after the bee house is assembled.) Next, proceed to cut the slots. The router table will be utilized to create slots for the bees.
You also need to make sure that the grain of the wood goes in the same direction as the slots you will be cutting. You do not want to go 'cross grain.'
You might have to purchase a 5/16 box core bit for your router.
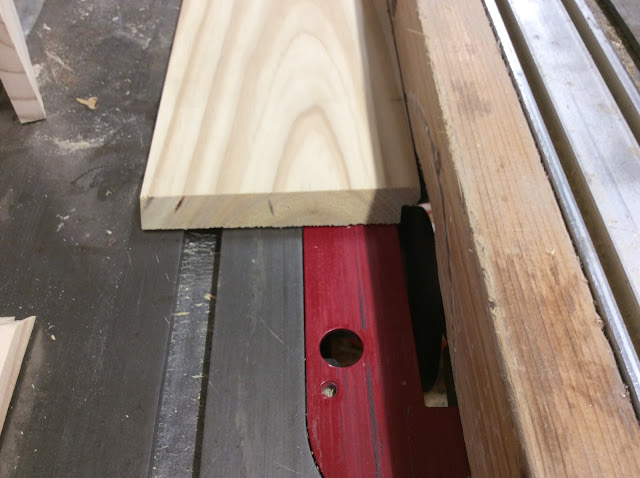
Adjust the router table fence to create a groove directly down the center of your 6" x 6" board. The groove should depth of 5/32 inches. Move the fence to 7/8" away from the bit and proceed to make the next cut. Subsequently, rotate the board 180 degrees and cut an additional groove.Using an angle tool, draw lines at a 45-degree angle down from each side and proceed with the cuts. I cut the back slightly wider and longer, and I will trim it to size after the center section has been glued up
For the sides, cut 2 boards 5 1/2" x 16"
At the top, cut a 45-degree angle.
Then, cut the dadoes to be 1/2" wide and 1/4" deep to fit the floors.
For the roof sections, cut 2 boards 4 1/2 x 6".To assemble the roof, you will need to make cuts in both. Here is a picture.
Cut the dado in the first piece, then cut a matching rabbit in the other. I used my regular saw blade and 'crept' up to the proper size.I then glued the two pieces together and put them in the vice so the glue could cure.
I then gave it a good sanding.With the roof and back completed, it's time for some assembly.First a dry fit.
You getting the idea?OK, now we can glue this puppy up.
No, not that puppy.
I then glued the bottom floor.We can now proceed to add the backing. I have cut the back slightly longer and wider, allowing me to trim it to the size. Note: I needed to remove a 1/4 from the sides, ensuring that I cut 1/8 from each side; otherwise, the center would be misaligned.
I also trimmed the bottom after the back was nailed in place.
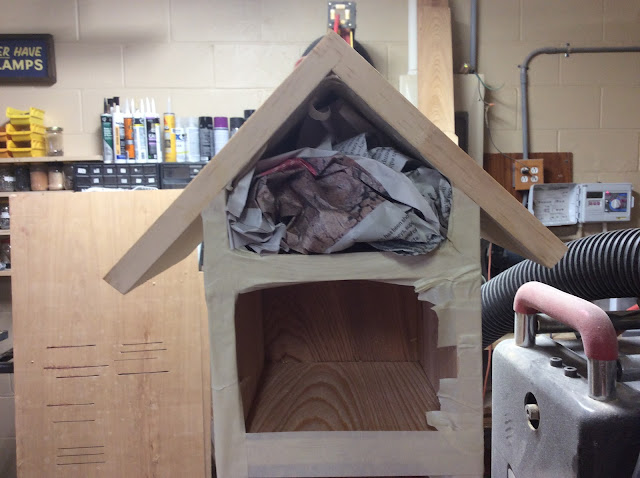
Now that the parts have been cut and glued together, it is time to tidy. I am beginning to trip over items on the floor, which is not advisable for an older individual the workshop.
Now that it's semi clean, we can at least walk around the shop in a safe manor.
So, let's take a break!!Back to the task at hand.

Ready to go!
Set the center
Set your calipers to 2 inches
Making some progress.

Ready for a bit of sanding.
Let's cut them to length.
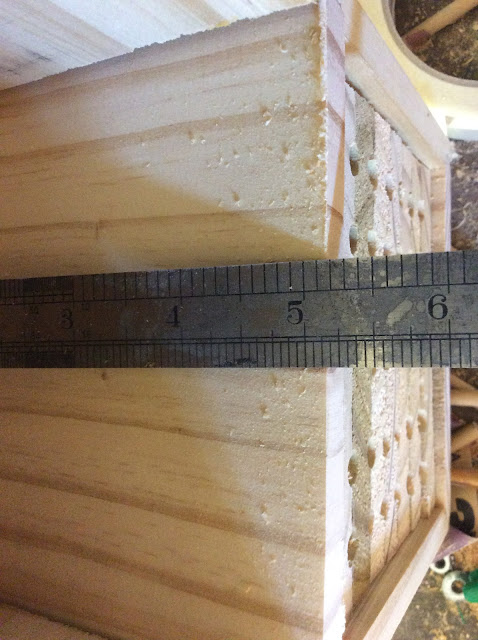
Don't forget to verify the depth. (5 inches)
Carefully cut the dowel, as this situation has "Kick Back" written all over it.
Now we can mark for the tunnels. I had to order a long drill bit from our friends at Amazon.
The end sections are optional, depending on your needs and budget.
For the left side we need to cut:
1 Short side 1/2 x 4 1/4 x 11
1 Tall side 1/2 x 4 1/2 x 13 7/8
1 Back 1/2 x5 x 13 1/2
1 Roof 1/2 x 5 x 7 1/4
1 Floor 1/2 x 4 x 5
1 Shelf 1/2 x 4 x 5
2 Dowels 1/4 x 9/16 long
1 Stop Block 1/2 x 1/2 x 4 1/4
and for the Right side:
1 Tall side 1/2 x4 1/2 x 9 11/64
1 Short side 1/2 x4 1/2 x 6 9/32
1 Back 1/2 x 5 x 9 1/32
1 Roof 1/2 x 5 x 7 1/4
1 Floor 1/2 x 4 x 5
1 Shelf 1/2 x4 x 5
2 Dowels 1/4 x 9/16 long
1 Stop Block 1/2 x 5 1/2
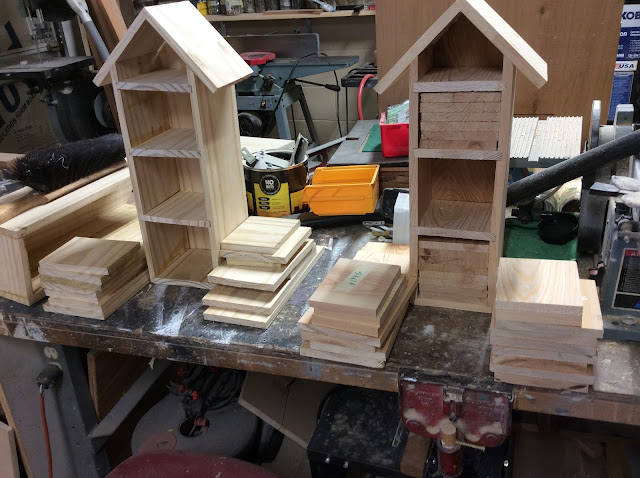
Here are the parts for the 2 new sections. All I need to do is make the dados and rabbits.
We put them together in the same manner as the center sections.We also need create a couple "Butterfly Doors." They have slots in them to allow butterfly access. We cut these holes on the router table. are two sizes: 3/8 x 2" and 3/8 x 2.5". The2.5" slot is located in center of the door. The doors are 4 3/8 x 4 3/8. I cut mine a bit larger then adjusted during the installation. I also added a 45-degree camphor on the top of the door to ease in opening.
When the slot is done, move the fence and cut the next slot.
One can now drill holes in the doors and the sides for the dowels.
When gluing the sections, place the butterfly door one side, and then add the second side.
A base is required for the Bee House. To construct the base two of pickets were initially glued together to ensure the width. First, the ends were jointed, followed by the gluing process.
Once the glue cures, the assembly can be cut to size and the ends routed. (The boards were cut to a width of 3.5 inches prior to gluing, ensuring that each piece was uniform in size. Additionally, a refined edge was added to the base using the router.
Nothing difficult here, I just did a little round over on the edges of the base. (except for the back of the base)
When gluing the sections, place the butterfly door on one side, and then add the second side.
Now that the end sections and the base are completed, we need to join them together. I glued them and used clamps to keep them in place while the glue set. A couple of nails or screws can also be used to secure them.
The bee tubes will need be trimmed slightly to fit the house properly.
And that completes our project. ALMOST.
To finish or not to finish. Cedar and Cypress are great outdoor projects if you want the wood to age gracefully. (Like me)
So, I decided to let it age with no finish.
As usual I created two of them; however, the second one is not yet completed. I will provide an update on the second unit at a later date.
This project posed challenges, particularly due to the warping of the planks, and keeping everything square. (I did not do a great job on the squareness thing.) I have several ideas for these issues, which will be featured an upcoming episode of Fresh's Workshop.
Woodsmith also requested wider wood for the roofs and the base. My pickets measured only 5 1/2 inches, necessitating a sacrifice of the overhang in the front.
Nonetheless, I believe the final result justified the difficulties we encountered. What is your opinion? Did we come close to the Woodsmith's version?
How in the hell did I get the left and right sections reversed???? I'll never know, but I'll tell people I planned it that way. Just like I'll tell them the butterfly doors looked better this way.I look to gaining further insights into these small that inhabit our environment.
For information on harvesting your bees, check out these links.
I like hard copy printed books, so I found this one on Amazon.
There are also numerous YouTube videos available about Mason Bees.I'll provide periodic updates on the status of the Bee House.
Coming up next in Fresh Workshop, we are returning to the Radio Room/Office to complete the floor moldings and a threshold. Additionally, we will be constructing a Turntable Cart to ensure that my seldom-used-Fi Turntable does not occupy precious counter space.













No comments:
Post a Comment