Thank you for joining us today at Fresh's Workshop. If this is your first visit, welcome! If you're returning, we appreciate your continued support.
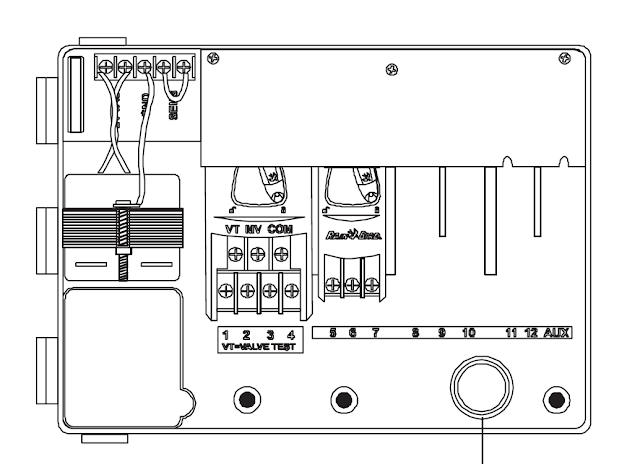
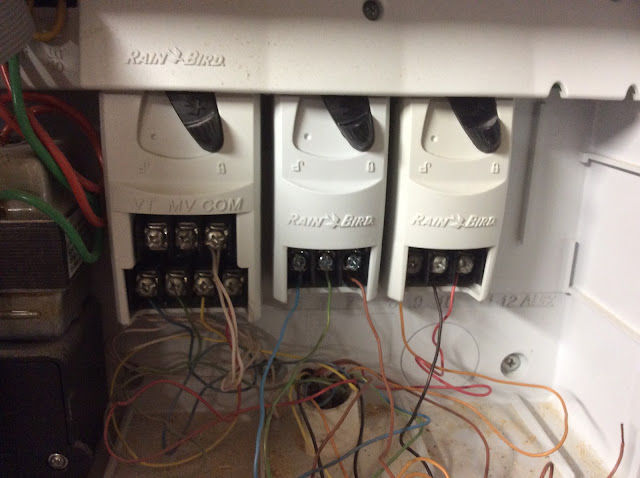
When installing the new module, ensure that you use the correct wire for each zone. The zones will function properly, although the zone numbers will be altered. I simply transferred everything from one module to another, slid it back into place, and used the locking knob to secure the module.
Now that all the zones are operational, we need to check each one for any malfunctioning valves or sprinkler heads.
As we move forward, we will develop a diagram for each zone and its corresponding sprinkler heads. This will assist us in assessing whether any adjustments or replacements are needed. (I am presenting one of the diagrams to give you an idea of how it was created.)
I've created a drawing of the front yard from the right side of the driveway, depicting the first four zones along with the sprinkler boxes. (not to scale)It is advisable to conduct regular inspections, as a flowerpot may inadvertently cover a sprinkler head.
These two instances clearly show pots being added without verifying the sprinkler positions. These two sprinkler heads need to be moved about 8-10 inches outward. The sprinkler system in question is designated for lawn irrigation, while the potted plants are watered through a distinct 'dripper' system.
The inspection of Zone 1 uncovered two damaged heads requiring replacement.
Now we can start replacing the nonfunctioning sprinkler head.
Simply dig down to expose the sprinkler head, unscrew it, and replace it with a new one. Ensure it's the same type as there are various models, and the home center should stock them all. For instance, the Zone 1 heads along the road spray only a 180-degree arc, while the Zone 4 unit near the driveway and sidewalk has a 90-degree spray pattern.
Make sure that the head does NOT stick up above ground level. Trust me on this, as I have run over my share of sprinkler heads with the mower.
Let's take a look at the anatomy of the yard system.
Water from the main supply enters through the on/off valve and then moves to a backwash valve. This valve prevents any water from the yard system from flowing back into the main water supply. The water then flows to a valve for ZONE ONE. The white pipe to the left of the Zone valve distributes water to three other zone boxes. (The image was captured during an overhaul I conducted a few years ago.)
That's how simple it is. Water comes in and goes to each ZONE Valve. The zone valve is controlled by the controller box. (in the shop) It really is quite simple when you look at it this way.
Every problem can be broken down into its simplest components.
We learned a ton about sprinkler systems when we had the 'Bitch Barn' built a few years ago.
We had to move a ton of pipes to make room for the new construction.
Having an abundance of pictures for reference is beneficial. Occasionally, one might accidentally install a Ham Radio Antenna Mast over a water line.
I still have some work to do. We have a few heads we need to move
Coming up next here in the shop:
It's back to the garden, as we build a Mason Bee House.See you soon!


.jpg)


No comments:
Post a Comment