Thank you for joining us today at Fresh's Workshop. If this is your first visit, welcome! If you're returning, we appreciate your continued support.
This is the spot where we build and repair all kinds of cool stuff, along with making a ton of saw dust. (Man Glitter.)
During our last session in the Workshop, we made a couple of cool Bee Houses.
To see that episode, just clicky clicky here.
Be sure to read, understand and follow all of the safety rules that come with your power tools. Knowing how to use your power tools properly will greatly reduce the risk of personal injury. And remember this, there is no greater safety rule than to wear safety glasses.
Before we start, a quick update. We found a great place for the Bee House.
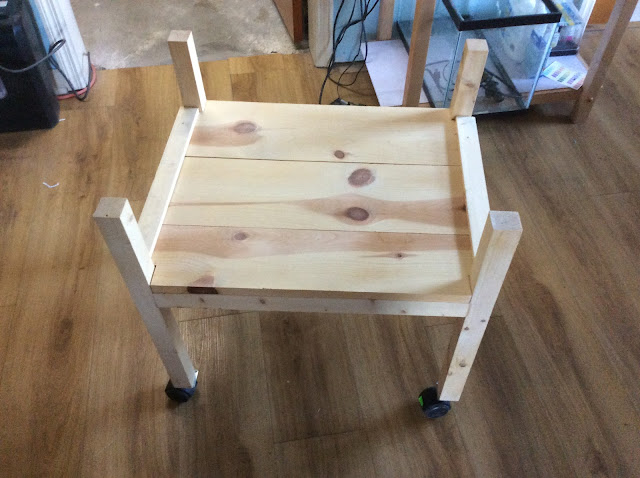
Today, we return to the radio room to complete the flooring project with some moldings and a threshold. And we are assembling a roll-around HiFi turntable cart.
It is important to note that the turntable cart was assembled prior to the flooring project.
With all of my radios, computer, and audio mixer (to be completed) I currently have no space left for my vinyl turntable.
To be candid, I rarely use the turntable since all my music is stored on hard drives. However, occasionally I do come across a vintage LP.
For the younger generation, an LP is a round object that contains music. One places a needle in the grooves, and music emerges from the speaker. It is pure magic! For more information, please refer to the L.P. Record or consult your grandparents.
I have retained the turntable to facilitate the transfer of these LPs to my hard drive.
However, due to limited counter space, I prefer not to occupy any area with an item that I utilize perhaps five or six times a year.
I do have plenty of floor space, so let's put that rarely used item on a roll away cart that I can nudge into a corner under my workbench. Then when I need it, I can roll it out into the office.I know. I should be ashamed of the dust.
So, let's get started. I built this using the same techniques I used in making the Plant Stand.
As usual, a complete detailed drawing will be used.
2 x 4's cut to size and length.
And sanded smooth
Fill in any defects, let dry, then sand again.
Mark your pieces. Front, Back, Sides, and Legs
Now let's, get out the Pocket Hole Jog.
I realized when putting this together, that I did not need two of the side pieces.
Let's add some wheels! Due to the size of the legs, I had to 'angle' the screws.
Add the wood putty, then sand, sand, sand.
We are leaving this piece 'unfinished for the time being. I have several other projects for this room and will wait decide on a finish. I may simply paint it as I did with the plant stand.
For now, the turntable is cleaned, polished, and resting in its new home. It is ready for the next time I come across some used L.P.'s that needs to be digitized. I may build a cover for it as well.
Now we can consider finishing the floor. We need to create a threshold and complete the wall and door moldings.
First, we will nail in the moldings. It is straightforward task but requires me to get down on the floor, which is not enjoyable.
Additionally, we need to add some door moldings as well as the threshold.
Installing floor molding was straightforward. I had some scrap material, so all I needed to do was measure, cut a 45-degree angle and then cut unit to size.
The cords extending out the door will be addressed in a future episode. We will install an additional electrical outlet below that shelf.
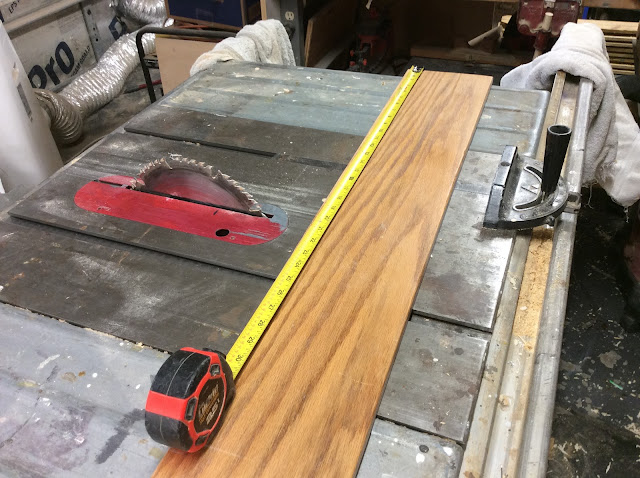
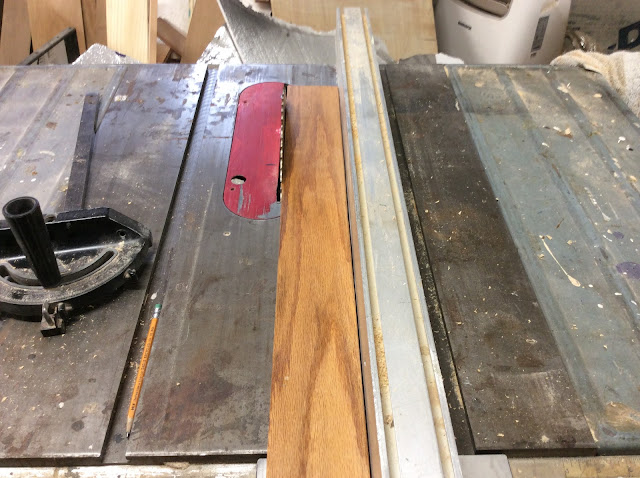
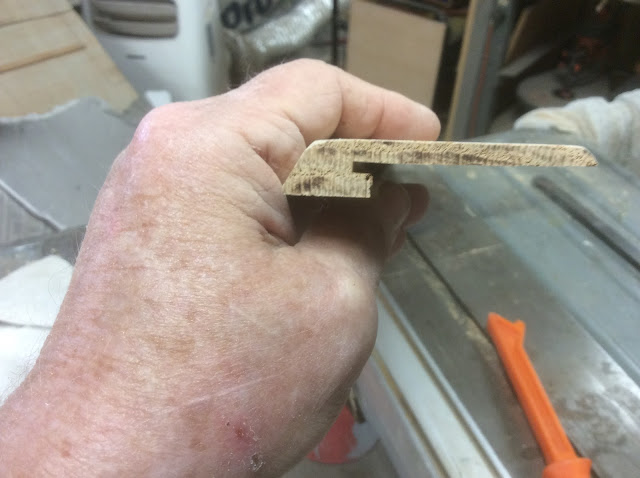
Now on to the threshold. I had a piece of OAK laying around that was the perfect thickness, so I saved on some milling time.
Let's cut it to the proper length (30.5 inches.)
Not too bad.
Not too bad.
Here it is set temporarily on the floor. We will give it a sanding, spray on a few coats of lacquer. and glue it down.
The last item on our list is some door moldings. They butt up against the door when it is closed. For some reason they were never installed.
First, we need to prepare a 2 x 4. Yes, I could have bought these moldings at the home center, but have you seen those prices??? Gee, I cannot do it.
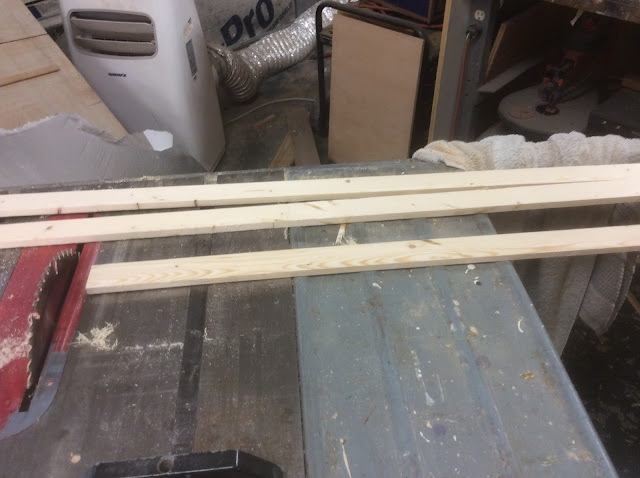
I milled the 2 x 4 down to 1.75 x 1.75. Then I cut strips.
Don't forget to sand, sand, and sand some more.
Nailed in place. All that is left to do is fill the nail holes, sand and paint. (I hate painting)
And Bob's your uncle.
This will complete the radio/office project and provide a hiding spot for my turntable.
Now I can begin planning a remodel of the shelves and radio racks.
A thorough cleanup would also be beneficial.
But first, a refreshing Adult Beverage.
For now, that concludes this session in the shop.
A 'Lazy Susan' is being constructed for the kitchen table. This project is simple yet practical. Additionally, a jig will be built for the bandsaw to facilitate the cutting of a circle. And as a bonus, a rotating stand will also be assembled for use in the shop during painting or finishing tasks.
That's all coming up here in the shop. But you'll have to wait. I am taking next week off in order to catch up on a few things. We'll be back in two weeks with our Lazy Susan.
See you then!
Be sure to visit some of my other blogs:
AROUND THE KITCHEN - SEE WHAT I COOK
BRIARWOOD - YOU CAN READ MY NOVELS
AUDIO CONSOLE - WHERE I AM BUILDING AN AUDIO MIXER
DISCLAIMER The information contained here is for ENTERTAINMENT purposes only. Working with woodworking tools can be dangerous. The user of these tools should have a basic knowledge of woodworking and be familiar with the proper use and safety precautions associated with these tools. Always wear appropriate personal protective equipment, such as safety glasses, ear protection, and a dust mask. Always use the tool in accordance with the manufacturer's instructions and guidelines. Always maintain a safe and organized work area.










No comments:
Post a Comment