Thank you for joining us today at Fresh's Workshop. If this is your first visit, welcome! If you're returning, we appreciate your continued support.
This is the spot where we build and repair all kinds of cool stuff, along with making a ton of saw dust. (Man Glitter.)
During our last session in the Workshop, we worked on an addition to our Hi-Fi system as we started on a 9 Channel Graphic Audio Equalizer.
To see that episode, just clicky clicky here:
Before we begin today's project, let's take a moment and talk about shop safety:

Be sure to read, understand and follow all of the safety rules that come with your power tools. Knowing how to use your power tools properly will greatly reduce the risk of personal injury. And remember this, there is no greater safety rule than to wear safety glasses.
Today, we will be assembling a couple of projects. We will start with a jig for the bandsaw to cut circles. Next, we will take those circles and transform them into a beautiful Lazy Susan for the kitchen, as well as a rotating finishing stand for the shop. These projects are very easy to make and are a wonderful addition to any kitchen and workshop decor. They make for a great weekend project that you can do by yourself or with the kids.
Rather than bore you with details here, I did find a cool article on THE HISTORY OF THE LAZY SUSAN.
Onto today's project.
I obtained my parts from Amazon.

Since we bought 2 - 12-inch platters, we will make 2 Lazy Susan's.
Let's begin by gluing together a couple of blanks. I cut mine to 13 inches long and glued enough of them to create a 13 x 13 piece.
Since our kitchen cabinets are made from Florida Cypress, we will be using some of our left-over Cypress to make our Lazy Susan.

I jointed the edge of each piece to insure a smooth and flat glueing surface.

Then I check for the grain pattern. This grain faces DOWN.


When we glue up any panel such as this, we want to ALTERNATE the grain pattern. UP/ DOWN/UP/DOWN.


This will also provide us with an excellent opportunity to hone our skills before utilizing the quality wood.
Place the Lazy Susan device on top of one piece of plywood


Now that we have familiarized ourselves with how these go together, let us move on to the circle jig and the actual Lazy Susan.
Using a square clamped to the saw table, I positioned a wooden fence against the square. I then clamped the fence to the table and removed the square.


Now we can clamp the jig to the saw table


Draw a line on your blank from corner to corner. Mark the center and drill a hole for your dowel. DO NOT drill all the way thru the blank.
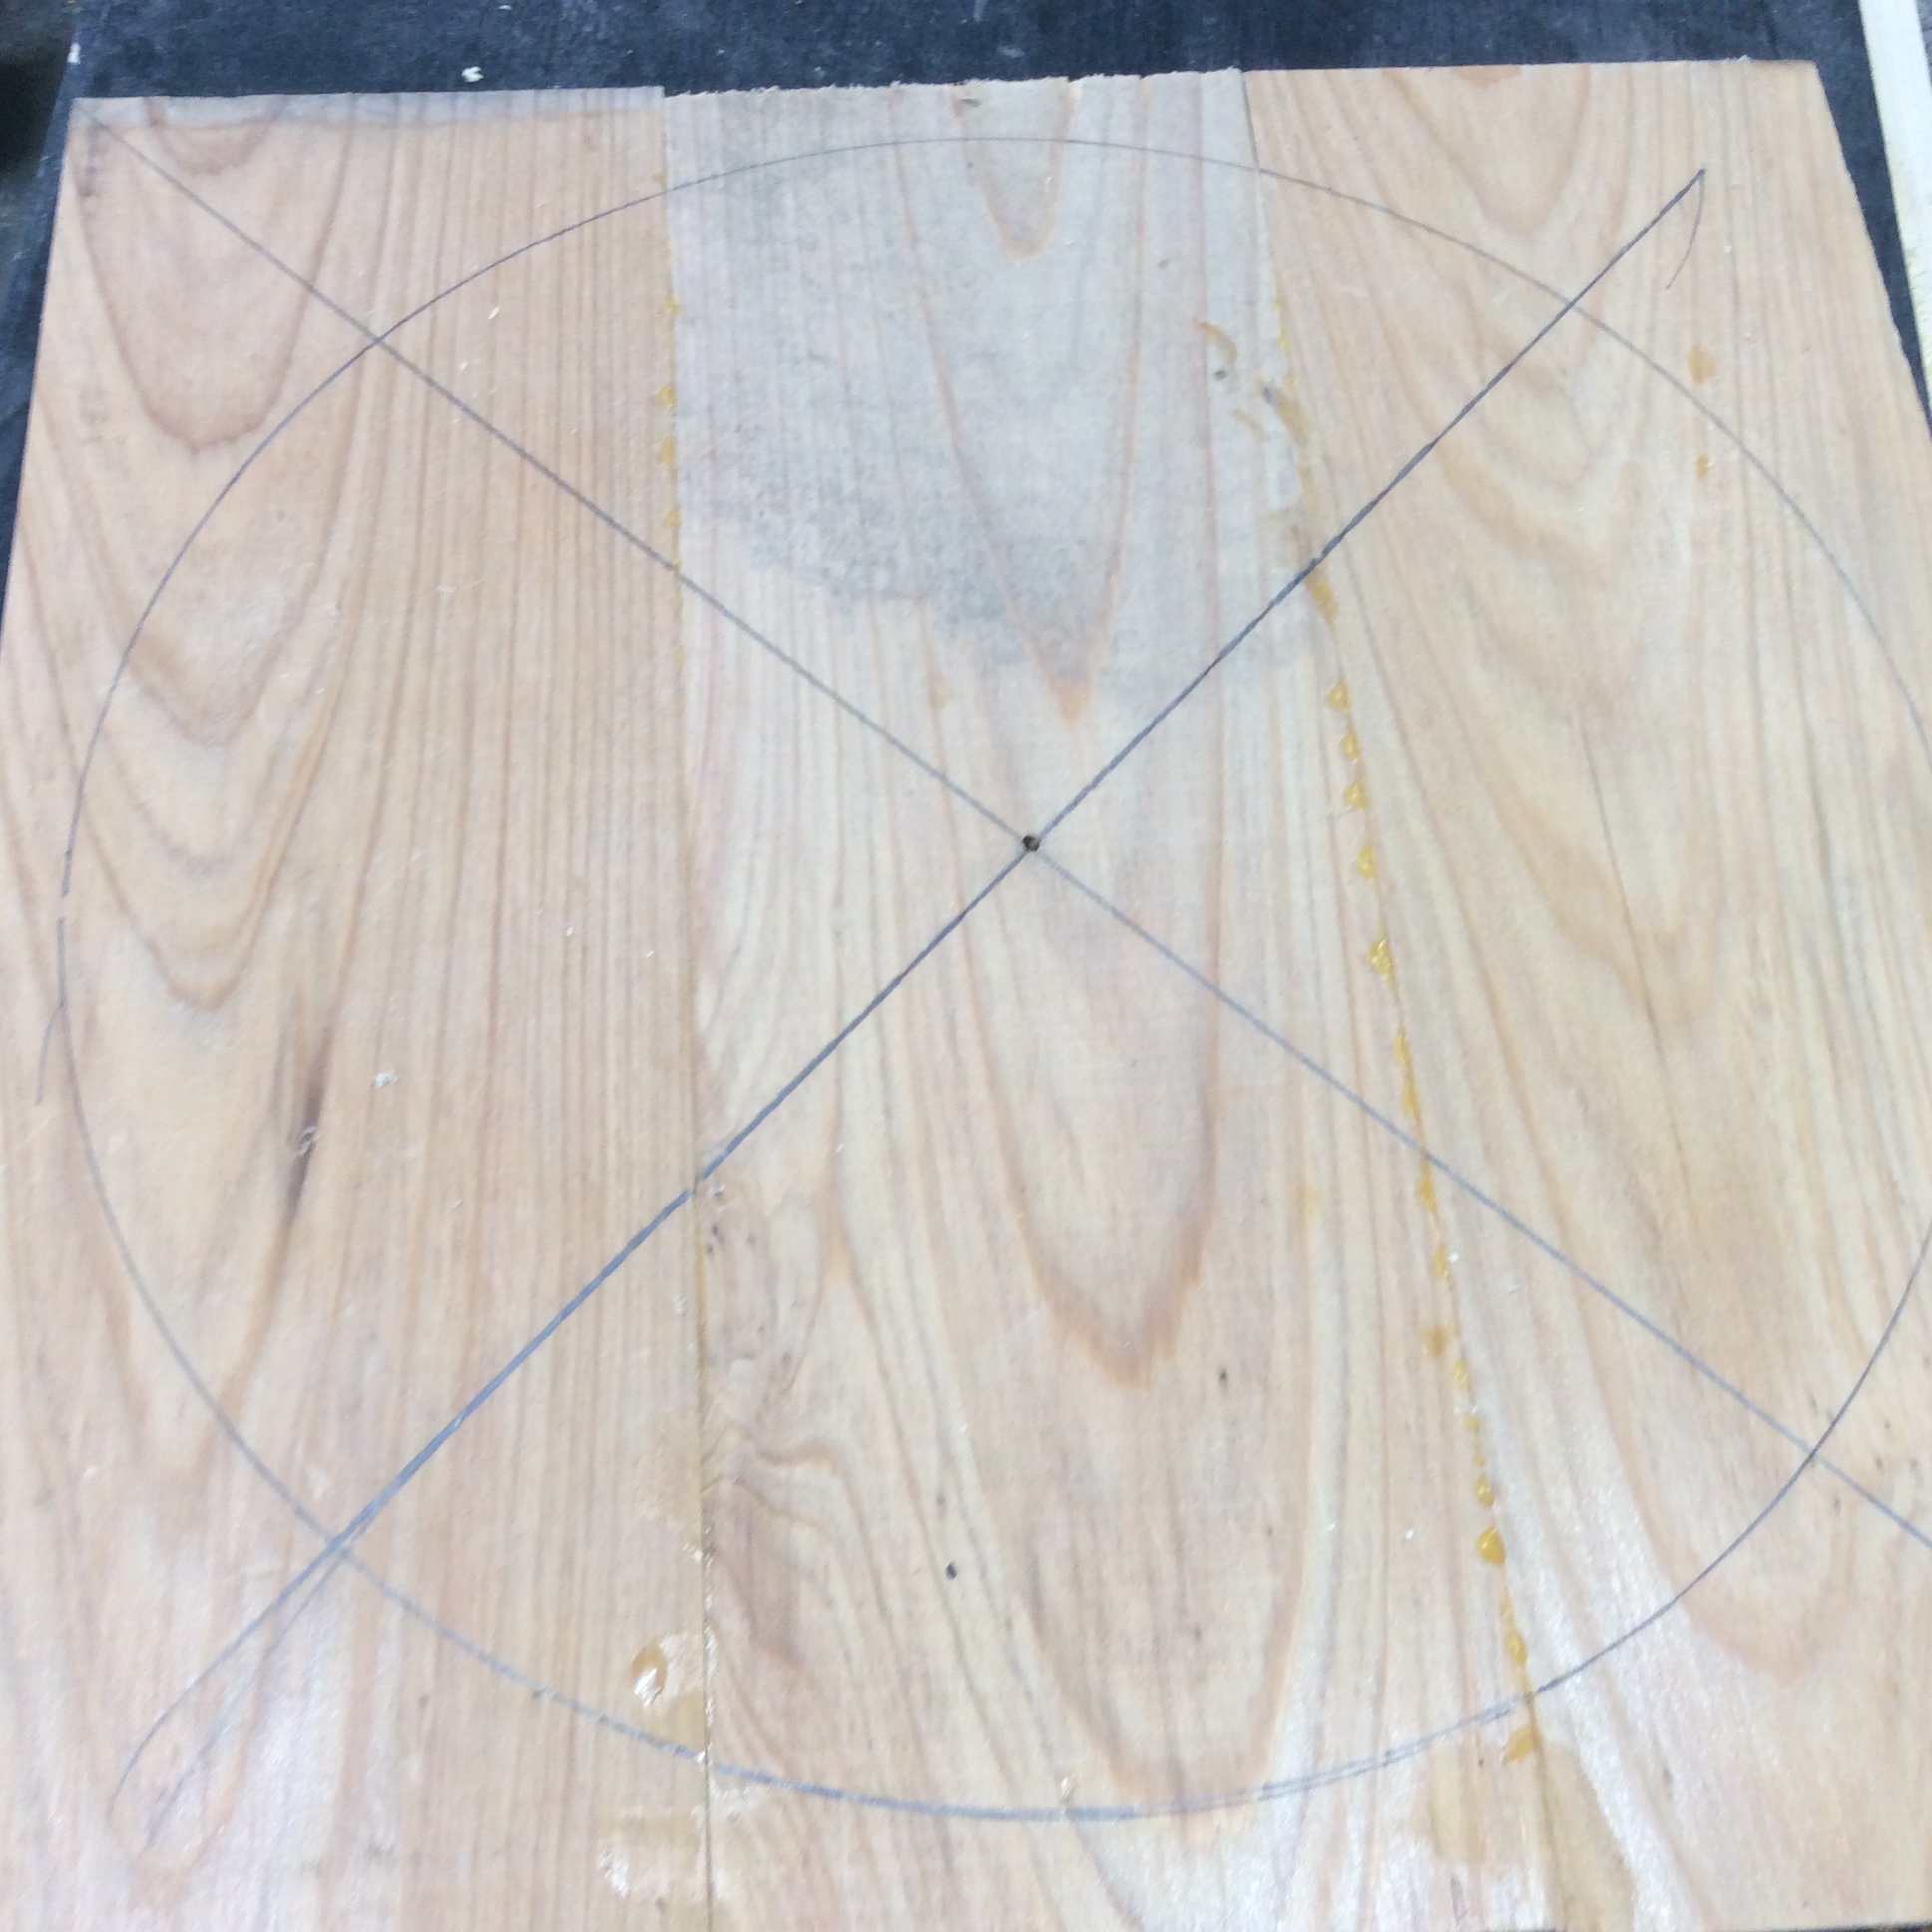


Now, we need to place our blank on top of the jig, lining up the dowel to the hole in our blank.

Turn on the saw, and start to rotate your blank...

Now we have a circle...... Cool, isn't it?


We need to put an edge on each blank. I fitted my router with the proper bit and set up my Router Table.


Using my scrap from the band saw, I routed a test piece. When I was happy with it, I routed the blanks. And I even remembered what side to route.


After completing routing, I slightly raised the bit and ran the pieces through again. This helps to remove burn marks.
Now it's time to sand, sand, sand, and sand.

We start with the usual 60 grit, move onto 120, then finally with 220.

After sanding, it is important to consider the finish. I do NOT typically stain wood, with the exception of OAK. My preference is for the wood to retain its natural appearance.
Here, we are beginning to apply the sanding sealer that we always use. Notice how it enhances both the color and the grain. That is the desired effect.


We start by sealing the bottom, and the underside of the top. Although these areas will not be seen, it is important to seal the wood.
After applying two coats of sealer, we can lightly sand both parts. Once sanded, we can assemble them. Place the bottom part on the bench and screw in the mechanism, ensuring the two holes are aligned.


With the top now placed on the bench, flip the bottom over and set it on the top. Now you can rotate it until you see a screw hole.

Carefully pre-drill a hole and insert a screw. I used a 3/4-inch #8 screw.


And Bob's your uncle. Isn't it lovely?

To create a base, I predrilled, glued, and nailed three small blocks, which I will later cover with felt. This will ensure that the Lazy Susan sits flat on the table without any wobble.

After assembly, we do a bit of final sanding, and two coats of sealer.

We finish our project off with some spray lacquer.
And it's ready for the kitchen.

This was a simple but fun project and should give us years of service. 

If you know, please tell me as I have not a clue. We are still fighting some cold weather, so I am not sure how much shop time I have coming up.
We did get the boards ordered for our Mixer project we started last time, along with the final control boards for some clocks we made.
And I have a cabinet to make for some VU Meters that go along with our Mixer Project.
Perhaps we can finally hang that TV on the wall?
Plus, some cool wood turning ideas.
So, until then, I guess I'll take a break.

See you soon!!!
Be sure to visit some of my other blogs:
AROUND THE KITCHEN - SEE WHAT I COOK
BRIARWOOD - YOU CAN READ MY NOVELS
AUDIO CONSOLE - WHERE I AM BUILDING AN AUDIO MIXER
DISCLAIMER The information contained here is for ENTERTAINMENT purposes only. Working with woodworking tools can be dangerous. The user of these tools should have a basic knowledge of woodworking and be familiar with the proper use and safety precautions associated with these tools. Always wear appropriate personal protective equipment, such as safety glasses, ear protection, and a dust mask. Always use the tool in accordance with the manufacturer's instructions and guidelines. Always maintain a safe and organized work area.

God Speed Mother Nature


No comments:
Post a Comment