Thanks for joining us today here at Fresh's Workshop. If you are a first-time visitor, WELCOME. If you have been here before, THANKS for coming back.
This is the spot where we build and repair all kinds of cool stuff, along with making a ton of saw dust. (Man Glitter.)
Last time in the Workshop, we made a Menu Board for the wife's Master Gardener group.
MENU BOARD (Click on the link to see that episode)
Before we begin today's project, let's take a moment and talk about shop safety:
Be sure to read, understand and follow all of the safety rules that come with your power tools. Knowing how to use your power tools properly will greatly reduce the risk of personal injury. And remember this, there is no greater safety rule than to wear safety glasses.
Today we are going to rebuild the wooden handle for the wife's Big Green Egg.
She's been cooking on one of these grills for well over 20 years. We used to have it on a roll around stand, but it made me nervous, so I made a nesting table.
The handle has seen better days (as has the table), so it is time to replace it.
She asked me for a replacement, and I was happy to oblige.
I looked online:
So, let's go out to the workshop and save 90 bucks!
First question to answer is "what kind of wood should I use?" I want a HARD wood. Perhaps OAK or Maple? Maybe some Black Walnut? I have scraps of all these, so I have plenty of choices.
But wait!
About 20-some-odd years ago, I was buying some maple for a project,
and I came across a 6-foot piece of Purple Heart. I just HAD to have it.
Purple and White are my High Schol colors, and I am very loyal.
And here we are some 20 years later, and I finally used some of it.
So, let's get to today's project.
The original handle comes in 2 parts, with a groove down the center of each. This is to allow the handle to attach to the metal bar that goes around the top of the grill.
Here is my Purple Heart board that had been stored in my rafters all these years.I cut off a 10 inch piece.
Using the original handle as a guide, I cut out two pieces. I then set up my saw to cut the groove in each piece. Once you cut the first groove, turn the handle 180 degrees and cut another groove. This sets the size. Then move the fence outward just a bit and repeat. Keep moving the guide until you cut the entire groove.
I ended up with just a 'sliver' in the middle, so I used a chisel to finish off the groove.
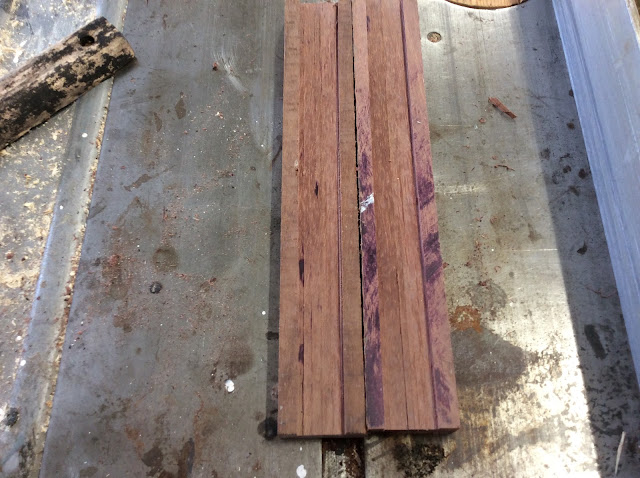
Here are the two parts and their groove
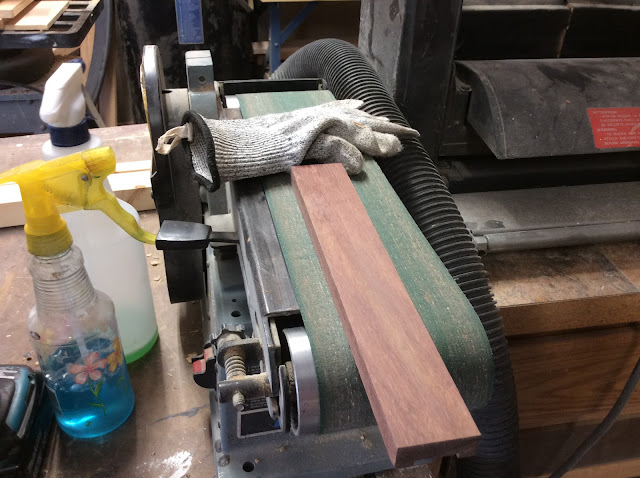
Now for some sanding. Don't forget to wear a glove. And be careful when you sand. Purple Heart is a HARD wood and will BURN if you are not careful. (see above pic)
Your original handle has screw holes you need to transfer. I just taped the original on top of the new piece and drilled a 3/8-inch hole using the original as a guide. ONLY DO THIS IS ONE PIECE.
These three holes need to match up with the holes on your EGG, so make sure you measure correctly, if you are not replacing a handle like I am doing.
I then drilled a 9/16-inch counter sink to accept the head of the screw.
I then drilled a 9/16-inch counter sink to accept the head of the screw.
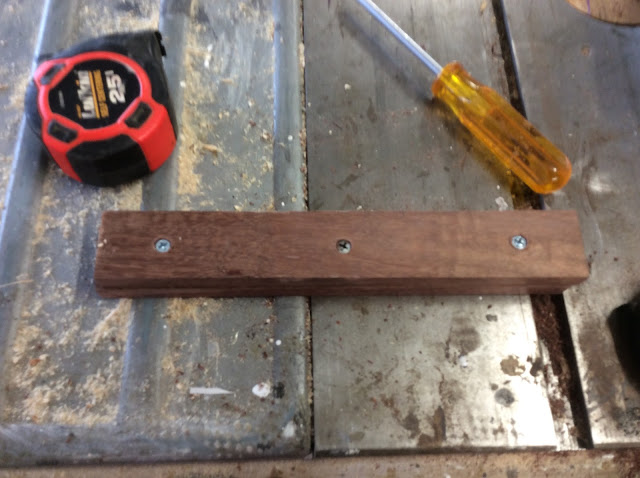
Now you can screw the top piece into the bottom (temporarily) Make sure you drill a pilot hole in the bottom piece. This wood is HARD as a rock.
You can see they didn't match up correctly. No worries. Trim the ends at the table saw. (I cut the original length a bit longer than needed, just in case this happened)
Now to sand the sides flush.
An almost completed handle.
I want to 'round over' the edges. You can use a router to simply use your belt sander. Or a wood plane and elbow grease. I have a 'shaper' so I used it. (it's kind a like a router, but on steroids)
And Bob's your uncle.
Now for some finish. I started with SANDING SEALER
I use it on any wood project that I am finishing.
Before I start finishing, how about a break?
This is what I used.
I made a small stand to prop up the handle.
After three coats of varnish and a very light sanding, I took the handle to the polishing machine.
With the handle on a nice towel, remove the three screws and pry the handle apart.
I put a mark on each end, so I can put it back together properlyAfter three coats of varnish and a very light sanding, I took the handle to the polishing machine.
With the handle on a nice towel, remove the three screws and pry the handle apart.
To install your handle, you will need an offset screwdriver.
Install the back handle first.
While holding the handle in position, install the front part of the handle.
Put in the center screw and lightly tighten. Then install the two end screws.
If you handle is loose, that means the groove is two deep. Remove the handle and sand it down until it is tight upon installation. If the handle has a GAP at the seam, your groove is not deep enough.
And there it is. A brand-new Purple Heart handle for the boss's Big Green Egg.
Easy and fun to build.
And she was pleased.
Pre-made handles ARE available from Fresh's Workshop. Just send me $499.00 via pay pal and I will GLADLY ship you a handle. Or send $999.00 and I will send two.
I got it !. How about an Orchid basket made from Cedar.
Be sure to visit some of my other blogs:
AROUND THE KITCHEN - SEE WHAT I COOK
BRIARWOOD - YOU CAN READ MY NOVELS
AUDIO CONSOLE - WHERE I AM BUILDING AN AUDIO MIXER
DISCLAIMER The information contained here is for ENTERTAINMENT purposes only. Working with woodworking tools can be dangerous. The user of these tools should have a basic knowledge of woodworking and be familiar with the proper use and safety precautions associated with these tools. Always wear appropriate personal protective equipment, such as safety glasses, ear protection, and a dust mask. Always use the tool in accordance with the manufacturer's instructions and guidelines. Always maintain a safe and organized work area.

.JPG)


No comments:
Post a Comment