Thanks for joining us today here at Fresh's Workshop. If you are a first-time visitor, WELCOME. If you have been here before, THANKS for coming back.
This is the spot where we build and repair all kinds of cool stuff, along with making a ton of saw dust. (Man Glitter.)
Last time in the Workshop, we made a few nice baskets for our Orchids.
ORCHID BASKETS (Click on the link to see that episode)
Before we begin today's project, let's take a moment and talk about shop safety:
Be sure to read, understand and follow all of the safety rules that come with your power tools. Knowing how to use your power tools properly will greatly reduce the risk of personal injury. And remember this, there is no greater safety rule than to wear safety glasses.
Today, we are going to build a Seed Starting/Plant Stand, that will go up against our bedroom window.
"But Fresh, it's the middle of October. Why are you starting seeds now?"
Because we live in Florida where it is always gardening season.
As many of you are aware (since it's a frequent topic of mine), my wife is a Master Gardener. I occasionally assist her, but given my lack of a green thumb, I tend to avoid meddling with the plants.
Last spring, I installed a shelf near the window to accommodate a few of her plants. This sparked the idea of creating a mobile stand with multiple shelves.
The room features Maple decor, however, the stand will be constructed from pine and then painted.
We're testing this prototype to determine:
1) If the design is functional.
2) Whether it will be consistently used.
Should the prototype prove successful, I might craft a Maple version to complement our bedroom set.
So, let's get started.
I always start with a 'detailed plan'.
The main supports will be 1 1/2 x 1 1/2 x 70", and I will need 4 of them.
The width will be 1 1/2 x 1 1/2 x 36" (the window size) and I will need 6 (3 shelves)
The depth will be 2 feet (I did not write that on that page, but I know what she wants. So, let's say 1 1/2 x 1 1/2 x 24". I will also need 6 of these pieces.
The first shelf will be 15" from the floor giving me room to slide a 30x14x18" footlocker under it all.
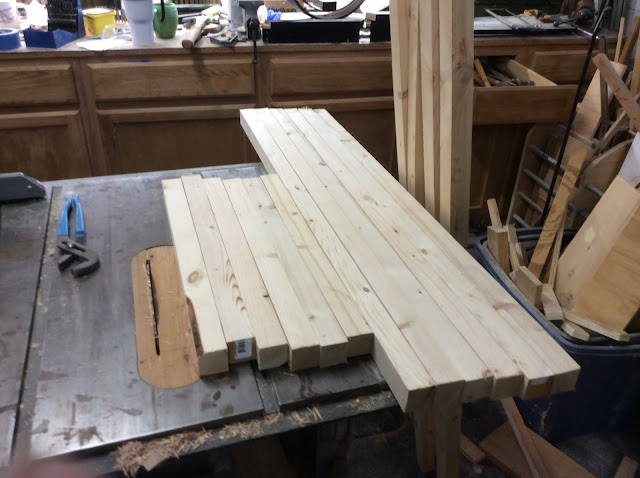
We took a ton of standard 2 x 4's and trimmed them down.
The shelves are going by a window, so I decided to put it on wheels. There are some wall shelves that I might need to get to, as well as occasionally opening the window. And for safety's sake, I need to move it out of the way in case I need to escape from the boogie man.
Can you say "boogie man" these days? Is that P.C.? I started by looking around the shop for some wheels. I have a ton of junk, and I was able to find the perfect wheels.
I have no idea where they came from how I got them. But they were in a drawer with a ton of other junk.
I have no idea where they came from how I got them. But they were in a drawer with a ton of other junk.
I put one against the bottom and made 4 circles with a pencil. I then PRE-DRILLED for the screws and gently screwed them in. I angled the drill bit towards the center of the square. This will help keep the wood from splintering.
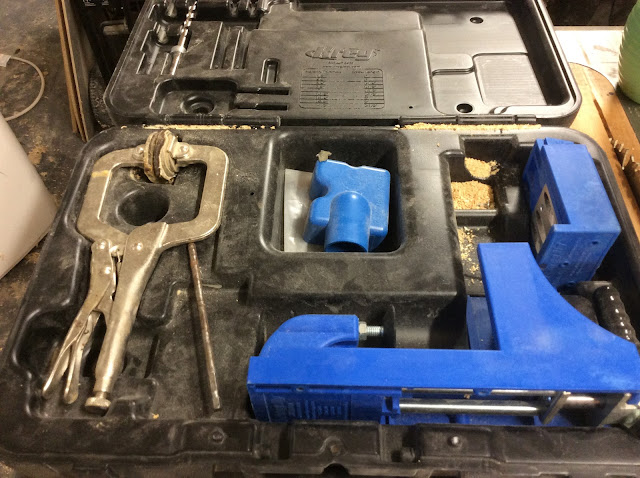
To attach everything in the protype, I will turn to man's greatest invention.
No, not beer, I mean the 'pocket hole screw"
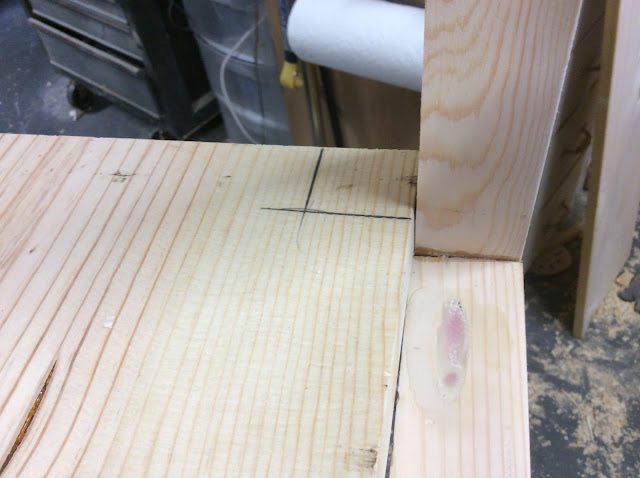
Measure up 15 inches from the bottom (floor) and draw a line. Draw another line 1 1/2 high. Put on a dab of glue and screw in the cross piece.
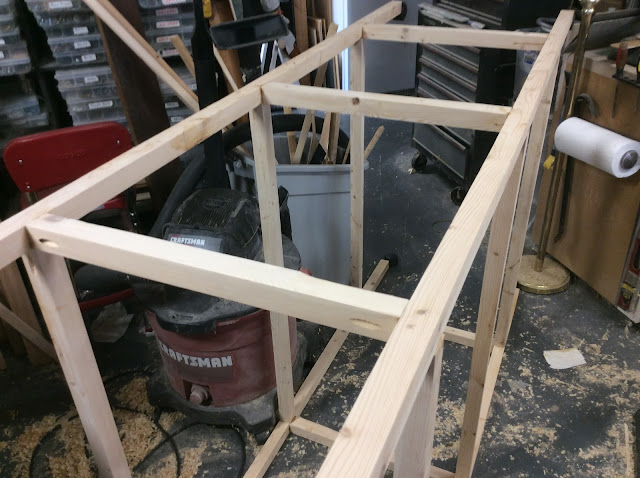
Side one done. Side two goes together the same way
You can see from the above, how it all goes together. Now let's cut some shelves.
Glue Tip # 945 -
I went to the Home Center looking for wood. (Boy is wood EXPENSIVE)
I opted for pine boards instead of plywood; lugging around a 4 x 8 sheet is becoming too cumbersome as I age. Although they offer cutting services for a fee, finding someone available and who speaks English is another matter altogether.
First, we trimmed the board to the desired length.
As usual, one end had a significant split. We carefully pried it open, applied some glue, and then clamped it together.
Now it's time to sand the dried putty. You might need to apply a bit more if necessary.
This is the putty I use: it dries quickly and is simple to apply.
To fit the shelves, I cut 1 1/2-inch corners on the front of the board.
With the permanent shelves installed, we can now focus on the shelf standards for the adjustable shelves. Although cutting a groove in the supports to accommodate the standards was an option, I opted not to do so for this prototype.

Measure the length and cut the standards, ensuring that the holes align with each other.
Align the standard on the support and predrill for a few nails or screws.
I've temporarily set up an extra shop light to evaluate the appearance and obtain my wife's approval (she adores it).
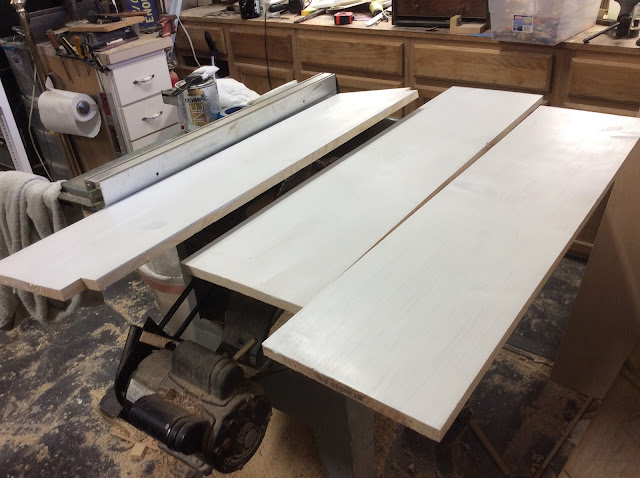
Now it's time to paint, although I dislike the task.
I left the shelves unsecured to the frame to allow for potential adjustments, considering it's a prototype.
Here it stands, adorned with just a few plants by the window.
The wall shelves are obstructive and inaccessible, which is another argument for mounting the plant stand on wheels.
Final thoughts:
The current design is somewhat lengthy and excessively deep. Should we opt for the maple version, it would likely be reduced by about 8 inches in length and only 12 inches in depth.
Next time, we'll step out of the shop and into Penny's realm: The Garden. There, we'll establish a vertical garden known as The Green Stalk.
We will tell you how to set up the versatile vertical planter, then we will plant some strawberries.
Hope to see you then.
Time for an adult beverage, and some play time with the president.
Be sure to visit some of my other blogs:
AROUND THE KITCHEN - SEE WHAT I COOK
BRIARWOOD - YOU CAN READ MY NOVELS
AUDIO CONSOLE - WHERE I AM BUILDING AN AUDIO MIXER
DISCLAIMER The information contained here is for ENTERTAINMENT purposes only. Working with woodworking tools can be dangerous. The user of these tools should have a basic knowledge of woodworking and be familiar with the proper use and safety precautions associated with these tools. Always wear appropriate personal protective equipment, such as safety glasses, ear protection, and a dust mask. Always use the tool in accordance with the manufacturer's instructions and guidelines. Always maintain a safe and organized work area.
God Speed, Mother Nature




.jfif)











No comments:
Post a Comment