Thanks for joining us today here at Fresh's Workshop. If you are a first-time visitor, WELCOME. If you have been here before, THANKS for coming back.
This is the spot where we build and repair all kinds of cool stuff, along with making a ton of saw dust. (Man Glitter.)
Last time in the Workshop, a Roll Around Seed Starting Stand (Click on the link to see that episode)
Before we begin today's project, let's take a moment and talk about shop safety:
Be sure to read, understand and follow all of the safety rules that come with your power tools. Knowing how to use your power tools properly will greatly reduce the risk of personal injury. And remember this, there is no greater safety rule than to wear safety glasses.
Today, we are establishing a vertical strawberry garden that will be situated in our courtyard, alongside Penny's vertical gardens.
For those with limited space, these planters are a godsend. They occupy minimal space yet allow for the cultivation of an abundance of produce or a vibrant array of flowers. Indeed, they are excellent for creating a stunning flower garden.
Penny owns two of these units, which is convenient for grabbing Onions, Lettuce, and other salad essentials right from the back door.
I adore strawberries, and we found a sale at Green Stalk.
Now, it's time to set it up.
The core of the planter is its watering system. Each tier has a dedicated watering container. Once these are filled, water seeps through small holes at the base.
For those who are height challenged, stacking as many or as few units as desired is an option. Simply add an extra top or bottom as needed.
Each of our units comes with wheels attached to the bottom spinner, allowing for easy mobility, especially on smooth surfaces.
Now, let's create a garden.
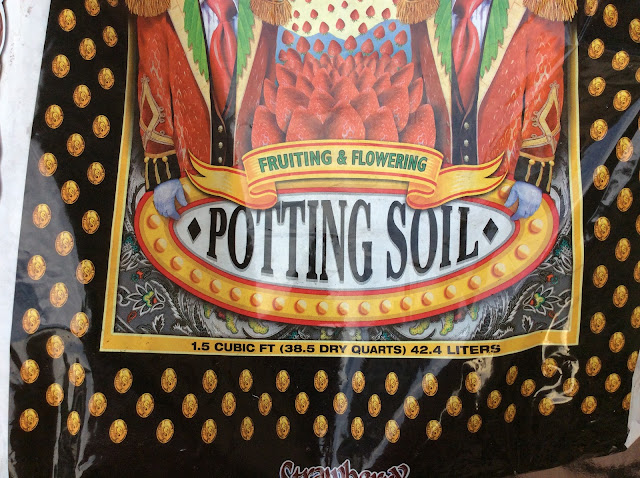
We'll begin with some special soil from FOX FARM.
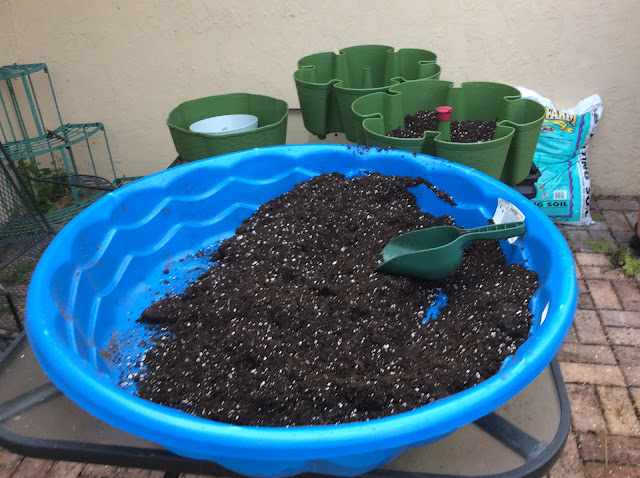
We utilize a children's plastic pool for mixing our soil.
Two bags of soil and one bag of worm castings.
Here is the boss lady blending some soil.
Begin with the bottom part, the spinner; the clear tube serves as the runoff tube.
Once you get a section filled, add the watering vessel and start stacking.
You can observe how they interlock with each other. You'll notice a 'pop' as they fall into place.After stacking them, you may begin planting.
We selected the new 'basket weave' style, which features smaller sections. You can mix and match the section sizes to your preference.
This design showcases planters in alternating sizes.There are multiple methods for filling planters. You can start by placing one on the base, then fill it and add plants. Proceed by setting the next one on top, fill, and plant accordingly. This technique is particularly useful if lifting a filled planter is challenging.
Now that our new Green Stalk is filled and stacked, it's time to plant some strawberries.
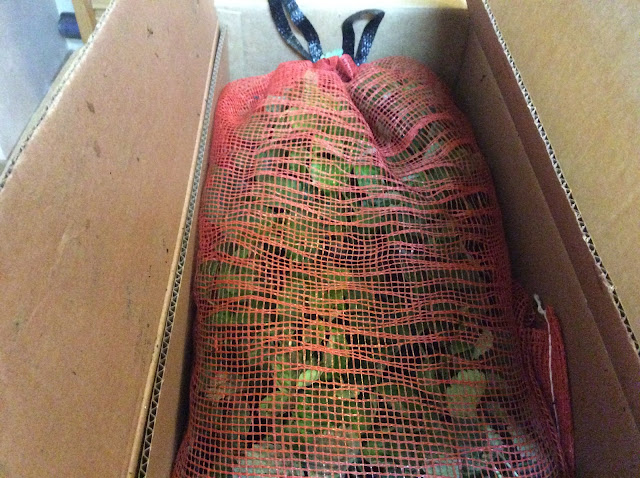
We bought our strawberry plants from ISONS NURSERY & VINEYARD in Brooks, GA, back in August. They were scheduled to ship in early October, which aligned perfectly with our timing.
They came neatly packed and ready to plant.
When preparing the hole for the plant, ensure that the hole is angled towards the interior of the planter.
Now that all the levels have been set, it's time to begin the stacking process.
We had a few extra plants, so we stuck them in one of the other units.
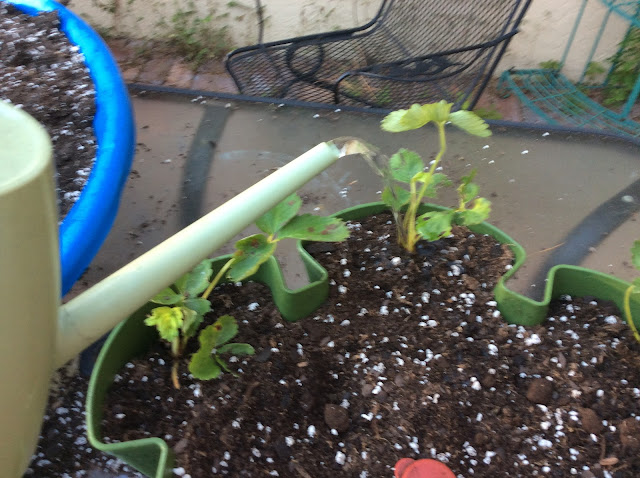
Naturally, watering them is essential. The Green Stalks should be watered from the top. Continue to pour water until you observe it beginning to drain from the lower tube. The boss advises that whenever you undertake initial planting, it's important to also gently water the plants from the side.
And done.
How are the strawberries faring?
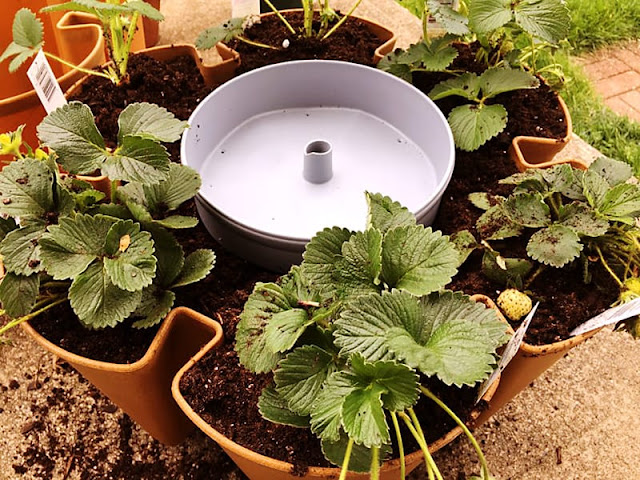
It has been three weeks since the planting. Two plants were lost, but they have been replaced with others from an additional Green Stalk. It's also advisable to check for dead leaves; a simple pinch can easily remove them.
All the plants are now flourishing and exhibiting significant new growth.
While there might not be any strawberries available yet, but as you brave the frigid northern temperatures in December and January, I will be savoring the privilege of harvesting fresh strawberries for my daily oatmeal.
Florida is wonderful.
Remember to regularly check the water level and water the plants as necessary.
We purchased this moisture meter on Amazon.
Next time, we will construct a versatile stand that can serve as either a plant stand or a chair-side table. This simple design is suitable for both uses.
Hope to see you soon.
Be sure to visit some of my other blogs:
AROUND THE KITCHEN - SEE WHAT I COOK
BRIARWOOD - YOU CAN READ MY NOVELS
AUDIO CONSOLE - WHERE I AM BUILDING AN AUDIO MIXER
DISCLAIMER The information contained here is for ENTERTAINMENT purposes only. Working with woodworking tools can be dangerous. The user of these tools should have a basic knowledge of woodworking and be familiar with the proper use and safety precautions associated with these tools. Always wear appropriate personal protective equipment, such as safety glasses, ear protection, and a dust mask. Always use the tool in accordance with the manufacturer's instructions and guidelines. Always maintain a safe and organized work area.










No comments:
Post a Comment